How to Print Notes on a PDF File with Acrobat, Adobe Reader and Foxit Reader
Print PDF with notes is not that straightforward, especially when you want specific styles of the printed notes/comments. In this post, we introduce how to print notes on a PDF file with Acrobat, Adobe Reader and Foxit Reader.
Acrobat
The detailed method is posted on Adobe’s blog: Printing Sticky Notes on a PDF.
Excerpt of the method:
Set a Preference to Print Sticky Notes
Acrobat does not normally print sticky notes. You’ll need to change a preference to enable printing of notes.
Choose Edit> Preferences and click on the Commenting category.
A) Choose the Segoe UI font matches print output better
B) Optional: Set Pop-up Opacity to 100%
C) Enable Print Notes and Comments
D) Disable pop-up scrolling (Makes it easier to position notes)
Positioning the Sticky Notes for Print
Acrobat does not provide a 1 to 1 correspondence between the appearance of sticky notes on-screen and your printed output.
I had best results with my document viewed at 75%.
You will need to spend some time positioning the Sticky Notes where you want them to print.
Printing the PDF with the Sticky Notes
To print the document, choose File>Print.
Before clicking the Print button, ensure that you are printing the PDF with the Document and Markups setting.
Note that this is for [[Adobe Acrobat Reader.
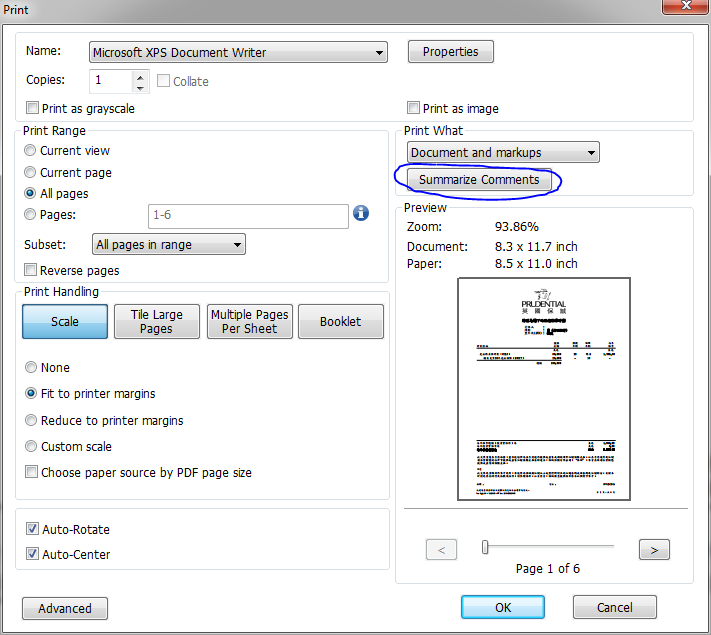
Adobe Reader X (Print a comment summary)
Note that you will need at least Adobe Reader X. The method is from Print pop-up comments in place .
The key is that in the Print dialog box click the “Summarize Comments” button.
Foxit Reader (Print a comment summary)
If you prefer a free PDF tool to print the notes/comments on PDF, you may use the Foxit Reader.
The key is to click the “Summarize Comments” button before printing out the PDF.