How to Change Windows User Name on Windows 10 Using Computer Management
The Windows user name can be changed according to the user’s needs and requirement. The Windows 10 Windows Settings tool interface keeps changing after updates. It is a little hard to find out the tool to do the user name changing. One way to change Windows user name is to do it through the Computer Management tool shipped together in Windows 10. We may expect the Computer Management tool’s interface will keep relatively stable in the future. This post will introduce how to change the windows user name using the Computer Management tool on Windows.
First, open the Windows Computer Management tool
Right click the Windows Start button and click the “Computer Management” menu entry to open the tool.

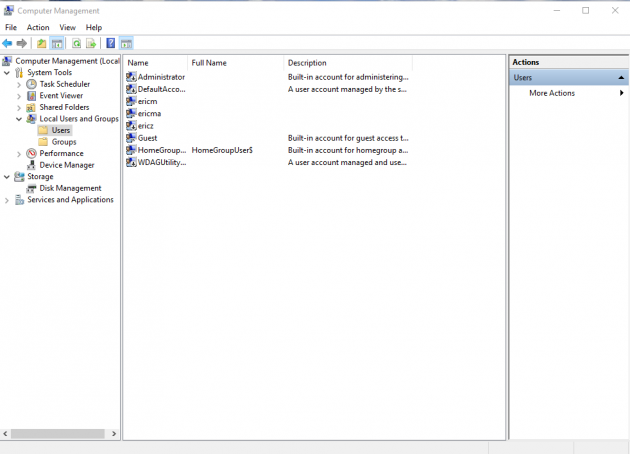
Second, open the User page in Windows Management tool
In the navigation panel of the Windows Management tool, choose System Tools -> Local Users and Groups -> Users, you will see the page showing a list of all the users.
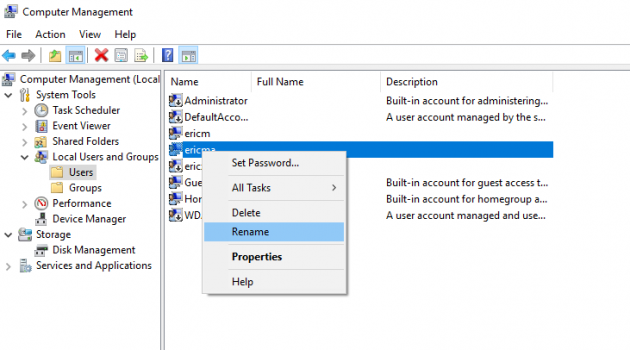
Third, change the user name in the User page in Windows Management tool
Right click on the user to be changed. And you will find the Raneme menu entry. Click on it and you can input the new user name.
After changing the user name, the new user name will take effect for next log in of the user.
Simple and straightforward, right? This method can be used to change the current and other user’s name too by the administrators.